Showing posts with label Tips for your home. Show all posts

Monday, April 4, 2011

Bridal Party Invites

I found the one.

Five years later..

I got the ring...

We set the date....

And now to celebrate with those closest to us.

But, how to ask my bridesmaids?


What's better than a handmade personalized
card for each bridesmaid and maid of honor?
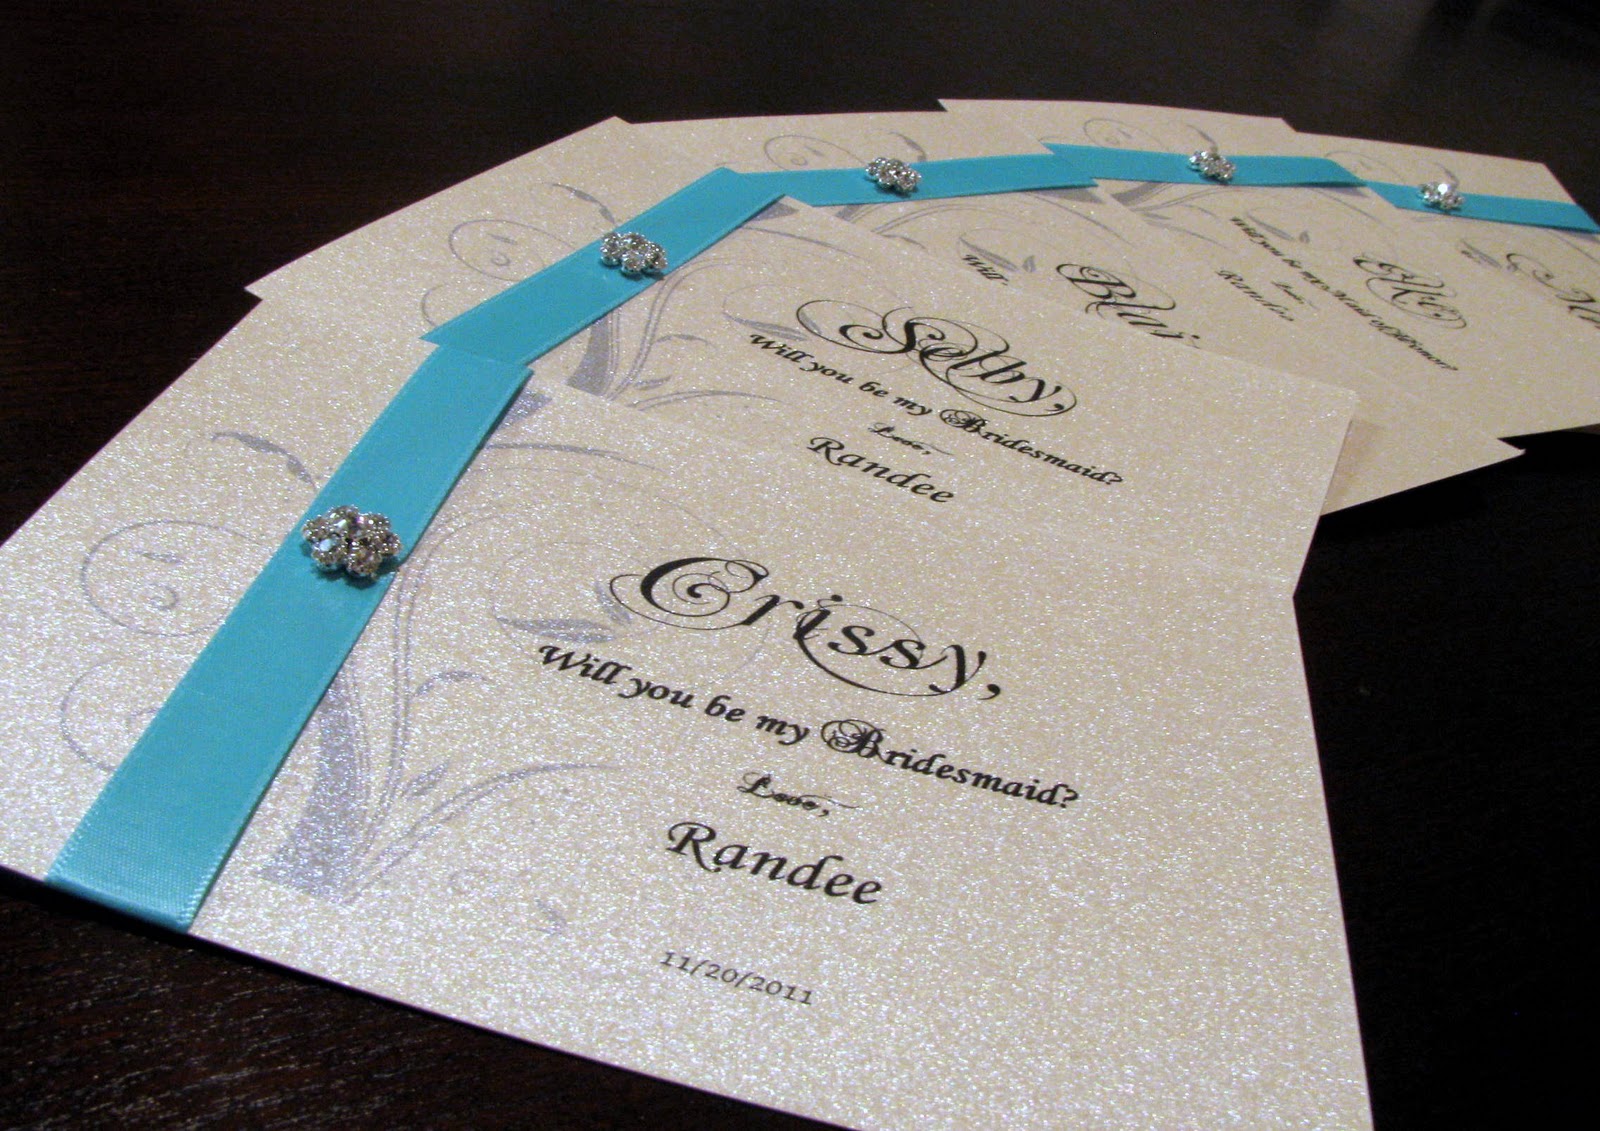
The first of many handmade items for our wedding. 

Materials needed: paper, envelopes, ribbon, decorative jewelry or button, and printer. Use whatever you have around the house...I did!

I had premade pearlized cards and envelopes. I created a design in a Word Document using various fonts and clips art and printed it. The design on the computer is probably the hardest part. Just practice on regular printer paper until you get it right.

 Cut your ribbon approximately 2 inches longer than your paper size
(longer for more ribbon overlap on back)

Punch a hole in the center. I used a Screw Punch.

 Make a small cut in the middle of the ribbon and insert the button
 (see a pictures below)


 Insert rhinestone button in the punched hole in the paper.


 With hot glue, glue the button in to place on the back and also the ribbon. Cut the ribbon longer if you want it to overlap the button.


 And here is the final product.....


All 5 of my bridesmaids loved their cards and said yes!


 Especially since I made it myself.


Oh and it requires extra postage.....I found out the hard way and so did my bridesmaids. The postmaster left them notes how much they owed the post office in extra postage! Whoops! Still they all received it. Thanks post office!

Other items I will be handmaking before our wedding: all jewelry of course, silk hair flowers, candy, flower arrangments, bouquets, and much more.

Sunday, December 5, 2010

Vintage Dish Collage

Over the years, I've collected several decorative plates, both antique and new, from my grandmother, my mother, and I've bought a few myself. Instead of hiding my beautiful mementos in a closet somewhere, I decided to display them where all (who come to my apartment) can see. There are several ways to hang decorative dishes: regular wall mountings, stands for individual dishes, china cabinets, and heaven forbid....to use them for serving food! That's too boring for me!!!!

A few years back, I saw a magazine photo that displayed dishes in a bold way. There was no measuring or perfect alignment, just fantastic dishes of all sizes hanging in harmony as a real statement piece. It appeared as art rather than plates hanging on a wall...I had to do it with my very own dish collection!


How to do it yourself:

1. Get some dishes in all different sizes and shapes:)
2. Use the floor to arrange how you want your dishes to look
3. Take a picture of your desired look as reference
4. Get plate hangers (so cheap) and begin hanging. You can perfectly line things up and draw exactly where you want the dish to go, but I like to do things a little haphazardly. Just approximate and start hanging!

Can you guess which dishes are vintage? There are 7!

When we buy a house (hopefully in 2011), I will reserve a wall in my kitchen or dining area for this dish collage! At that time, I hope to have some color on the walls instead of the boring "rented apartment off-white" color that's in the photo.

I still have several vintage teacups and beaded purses from the 1940's locked up that I inherited from my grandmother. One day, I'll find a creative way to display them too!