

After my research, I discovered that macro photography requires a few things that are not hard to find:
1. Camera set-up:
· A digital camera with macro mode (the setting with the tulip)
· aperture mode
· low ISO setting (200 or so)
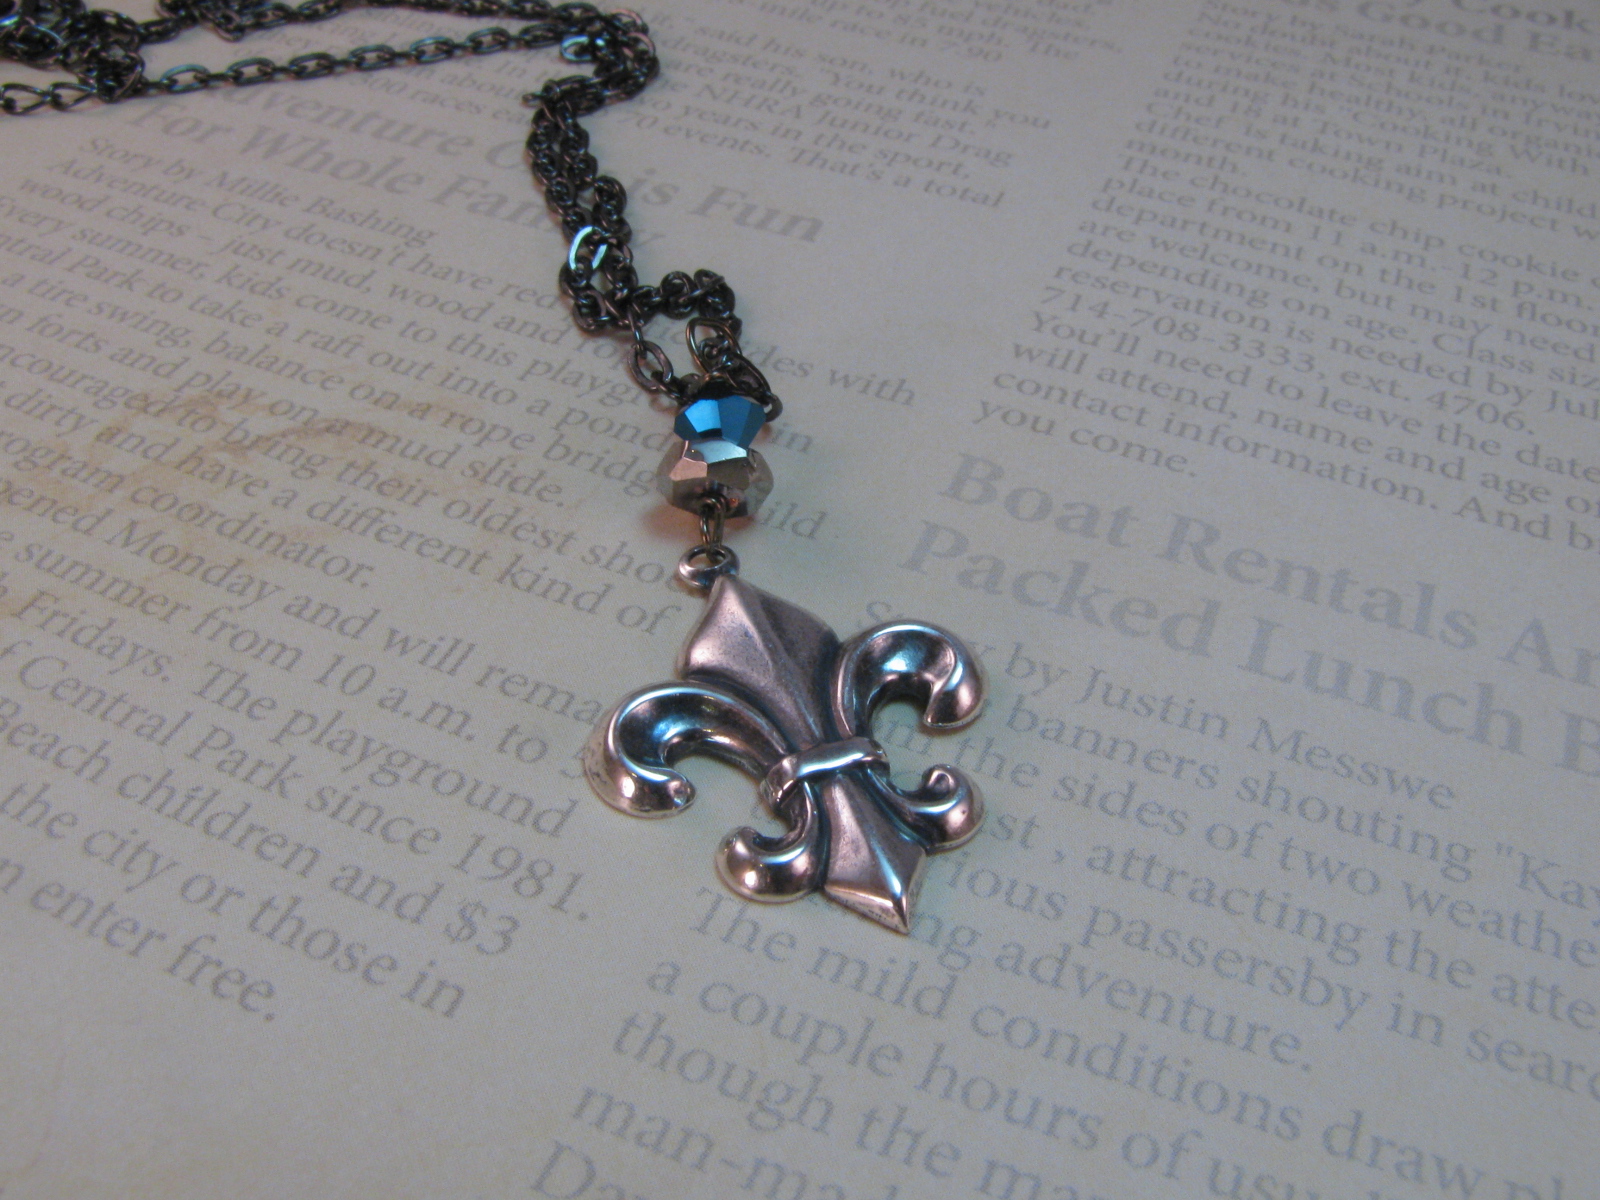
· AWB (auto white balance) mode to make your images white and not so yellow or you can use Tungsten {see your camera’s manual for AWB}


Before White Balance

After White Balance

· Camera dock/stand to prevent your camera from moving and getting blurry


2. Lighting, lighting, and more lighting:
· Lighting is the second most important thing after your camera settings.
· I’ve learned through research and trial and error that you need as much light as possible focused on your image at all angles (diffused lighting works best…more on that later) to reduce shadows. Oh and turn off all other light in the room when your studio is in use. Photography at night or in a dark room works best for me!


· Clip desk lamps are perfect to attach to your table top and bend into the direction you want (cost $5-$10 at Wal-Mart)


· I like to use natural white light bulbs opposed to traditional bulbs that can make your images look yellow….anything to get your image looking whiter is best.
3. An actual macro “studio” (see below for instructions):

4. A good photo editor

4. A good photo editor
· I use Picasa because it is free and easy to use.
· I like to use the “I’m feeling lucky” mode to make my images brighter, tuning with shadows and highlights, crop, and sharpen my images.
Before Editing
After editing in Picasa

How to make your macro studio box:
Materials:
· Box large enough to fit your item to photograph
· White Velum or white cloth
· Scissors/box cutter
· Tape
· White paper that isn’t shiny big enough to fit in the bottom and back of your box
· Background paper—this is the paper that will be shown into the photo
1. Determine how you want your box to be positioned; open one end to use as your photo dock station where you will be situated to take the photos


2. Using scissors or box cutters, cut rectangles 1” smaller than your velum paper size into the top, left, and right sides of the box (and back too if you want to add extra light). My velum is 8”x11” so I cut the rectangles approximately 7”x10.”
3. Tape velum paper to the outside of your box.


4. Place white paper into the bottom and back of your box. If you are not using the back section of the box for extra light, be sure to get a piece of paper that slides all the way into your box and covers the back section. It’s best to use one long single piece of paper so that you can slide it in and there will be no seam of where the papers meet showing in your photos.
5. Place your desired background paper on the bottom and begin using your macro studio using all of the above tips!

And at last you have your professional looking photos ready for your online shop!


And at last you have your professional looking photos ready for your online shop!

By no means am I a professional photographer, but I just thought I’d share my macro research with others in hope that I can save you time and frustration when you are starting your own home business journey! There's always room for improvement. I'm still trying to update all of my old photos in my Etsy shop with my new techniques. Please feel free to leave me suggestions and tips to improve macro photography or if you have any questions!
Good how to post. :)
ReplyDeleteGeez, that nest ring is just gorgeous!
ReplyDeleteYour pictures look great, I love trying new things with my camera. These are some very good tips.
ReplyDeleteThank you for this great post! Your photos are lovely. So is your jewelry.
ReplyDelete